Category Archives: Photo Galleries
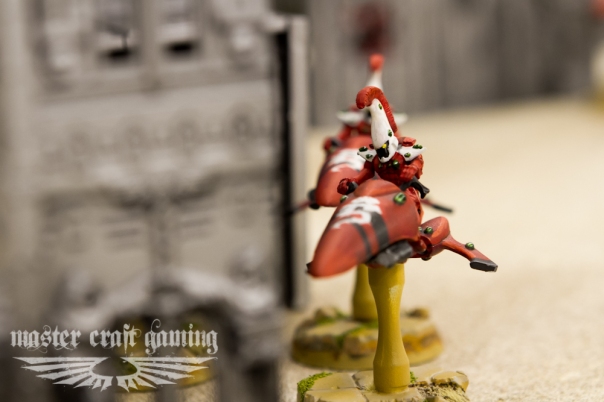
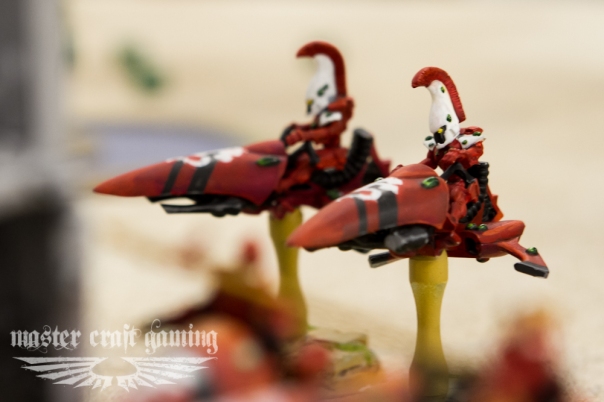
Battle Report Teaser: Eldar vs Necron Air Force
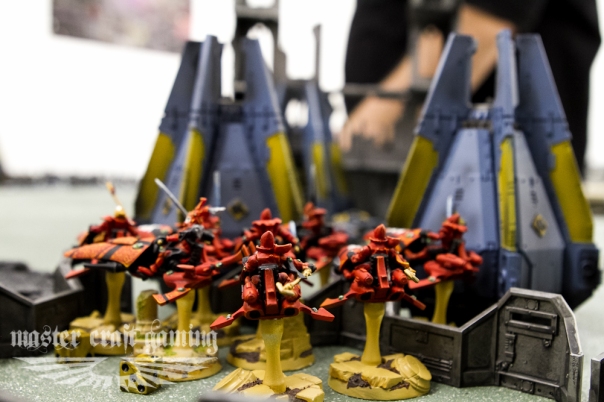
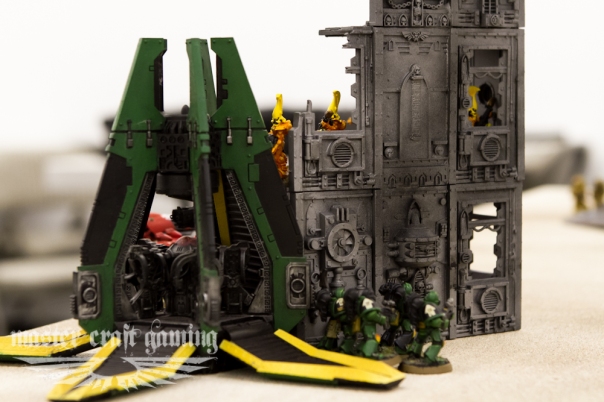
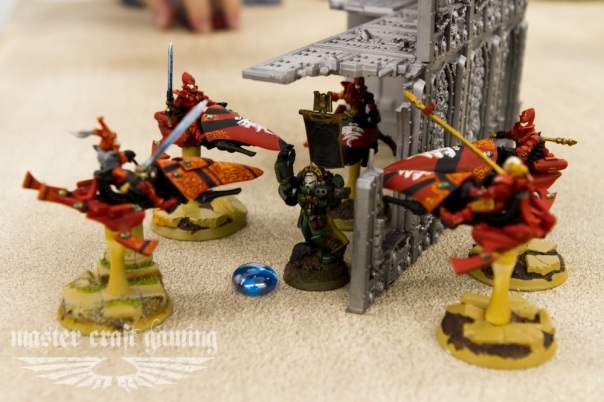
Hey all, themightysquig here with another Battle Report Teaser. This week, Son of Adam’s Eldar took on Jesse’s Necron Flyer list. Flyers have become a dominant force in the 6th Edition and are expected to be a popular choice at NOVA. However, SoA thinks that his Eldar army is built to withstand even the toughest flyer list. With the tournament just a week away, they decided to put this theory to the test in a NOVA primer match. Can Jesse’s Necrons crush SoA’s Eldar? Can SoA’s list really handle that much firepower? You’ll have to wait for the next battle report to find out! Until then, enjoy these photos from the battle!
Tournament Review: Outside the Box Games 8.12
Hey all Son of Adam here again with another tournament review. This last weekend Vanguard and I drove out to Jersey and played in Outside the Box Games’ tournament. This tournament was a 1999 tournament with 20 players.
I’m sorry that I haven’t put out too many strategy articles recently, but I have been busy playing in these tournaments and painting for NOVA. Good news is that we should be having some graphics for the articles soon to help clearly display the techniques.
This weekend I brought an Eldar with Dark Eldar allies list. It had the same council as before, two squads of three jetbikes, 3 squads of snipers, a squad of swooping hawks, an aegis, the duke, and a 20 man warrior squad.
My first match was against Damian and his Necrons. It was a fun game against a good opponent, and it was good prep for us both as we are both planning on attending NOVA. You all asked for a more in depth report and so this is my effort to accommodate that; if you are uninterested just take a look at the pictures and scroll down to the bottom.
 Damian’s (sorry bro, I have no idea how to spell this. feel free to post a revision and I will throw it in here) list had an overlord with two 10 man immortal squads, a destroyer lord with two 6 man wraith squads, 3 night scythes with 5 man warriors onboard, two annihilation barges, and a doom scythe. The mission was dawn of war deployment and the victory conditions were Kill points with the BRB secondary for battle points.
Damian won the roll for first and passed it to me. There was already a sky-shield platform in my deployment so I didn’t need the aegis. I castled up and dumped all of the foot troops in it except for the hawks who skylept at the beginning of the turn. Then I placed the council on the far side of the middle to try and get Damian to split his forces. He then deployed all of his wraiths with the destroyer lord across from my castle, and setup everything else across from the council.
In first turn I turned on the fortune and flat out the council to my left flank just in front of the platform to cover up the firebase from assault. Then everything shot at the one squad with the destroyer lord. Damian was running him in the front in order to pass off all of the wounds. However, I was able to get a few sniper shots in on him and reduced him to one wound, and knock off two wraiths.
In his turn he charged all of the wraiths forward and left the destroyer lord to the back. Everything else changed direction and took its time getting in range of the castle. One squad of wraiths was 11 inches away from the council but didn’t want to chance the overwatch for nothing and decided to run instead. 
For the start of my turn two I moved up the council and prepared for a multi-charge. The fire base split its shots between the two squads, reducing the lord’s squad to a man, and the other to four wraiths. Then the council charged in and knocked some more down. 
Damian’s turn two started with all of his fliers coming in trying to get shots on the castle, because the council was still engaged. The rest of the army continued to adjust to being out of range. All of the fliers opened fire on the castle, forcing them to go to ground and only managed to kill a few models. In combat more of the wraiths dropped, but one survived and tied up the council for my turn.
In my turn three, everything had gone to ground and the council was still engaged, but the jetbikes came on and hid on the now vacant part of the table. In combat the last wraith went down and the council consolidated the best it could for the oncoming fire.
 The crons turn three had all of the night scythes continue to move forward, as the council was out of position for them to turn and fire on them, but the doom scythe moved into position to engage them. The command barges now changed direction and went back to their original side of the table trying to chase down the guardian jetbikes. All of the night scythes fired on the castle and it went to ground again, only loosing a few models. The barges were out of range, and the doom scythe shot on the council, but couldn’t do enough damage. Between all of the tesela’s arcs the doom ended up being hit and loosing a hull point.
 For the top of turn four the council charged over towards the first immortals squad and eliminated them between shooting and combat. The castle snap fired into the same immortals squad to help reduce its numbers, and the guardians went flat out across the table to eliminate one of the barges range.
In his turn four the night/doom scythes all flew off the table, the barges continued their pursuit and the immortals climbed a mountain hoping that the dangerous terrain would kill some of the council. They fired on them and didn’t do much damage, but the barges were able to take out two from one of the guardian’s squad.
 For the top of my five the council moved into the mountain, shot, and charged the immortals killing all of them. The guardian’s squad split up and flat out to the safest places they could find.
 In his turn five, all of the scythes came back and finally hunted down the remaining guardians. The game ended, and Damian ended up getting three KP’s; two for the guardians and one for the Swooping Hawks that scattered off the table (sorry I forgot to mention that, they didn’t do anything but jump all game anyway).
My second match was against Mike Ludwig and his ork horde army. Mike is the president of the Big Gunz gaming club and was a real fun guy to play against. The table looked like a wave of green orks all game. He had six 30 man ork boy squads with nob/claw/pole, three squads of 10 lootas, and a KFF big mek. The match that we played was dawn of war deployment with four objectives across the middle. There were special rules that said that the objectives could disappear if a six was rolled at the beginning of the turn.
Mike got first turn and deployed everything in the only way he could manage, which was filling the board, throwing the mek as centrally that he could, and spreading out the lootas evenly. I responded by putting the council out of range of all but one loota squad, throwing all the rest of the snipers in buildings, putting the warriors in the aegis, and reserving the hawks and one five man sniper team.
 Mike rolled for night fight first turn, which saved me from a lot of dakka. He ran all of the boyz forward and shot what he could, but didn’t kill anything.
In my turn the council moved up, but stayed in range of only one squad for charging. All of the fire base fired on one unit and removed a chunk of it.
For Mike’s turn two, he again advanced and fired on the council. The one squad that was reduced and close enough to charge decided to not take the bait and instead backed up and covered the lootas. Not much damage was done from his shooting.
 In my turn two the scouts came in and outflanked on the wrong side. The council charged forward and with the fire base laid into the squad that had a chance to counter charge, reducing its effectiveness, and pinned another.
 For Mike’s turn three he wiped out my snipers easily, as they were out of cover. Then he shot everything into the council and charge them with two squads. I over-watched and hurt one and then the other came in without being hit. I ended up kill the first squad and knocked out a lot of the other one as well.
In my turn three the council finished up the rest of that squad in combat, and I fired into the pinned squad and the lootas. The pinned squad got knocked down a few and the lootas had one member left.
 In Mike’s turn four we lost two of our objectives but evenly. He moved everything up to hit the council at once. The rest of the army shot into the council. Then the one squad that was pinned, charged in and did a little bit of damage before being wiped.
 In my turn four the council charged one squad on his remaining objective and the firebase was generally getting out of range to do much else, but knock off the remaining loota and weaken the squad the council was charging. The guardians came on and hid out of range of the remaining lootas.
 In Mike’s turn five, everything counter-charged the tied up council, and did a bunch of damage. The lootas fired ineffectually into the snipers. In the end he had three squads that remained in combat and the councils numbers began to get thin.
For my turn five I boosted the bikes onto an objective, dropped the hawks on his in case the council didn’t make it, and shot the lootas off the table. In combat the council killed off one of the squads but took a bunch of damage in return.
 The game ended here, but Mike wanted to see how it would go so we played it out. He ended up killing all but one wound on each of the farseers, but they won combat and stuck around giving me the win on objectives. Mike got first blood with the snipers that I shouldn’t have outflanked with, and I was able to pick up line breaker and kill the warlord.
 For the final match I played an old friend of mine named Steve. Steve brought a very nice, non-net-list, Necron army. He had a destroyer lord with 6 wraiths, a night scythe with 15 warriors, two arks with 10 warriors, a 14 man warrior squad on foot, a squad of scarabs, a triach stalker, a doomsday ark, and two barges.
The mission this time was “The Relic” and the deployment was again dawn of war. Steve got first turn and setup his stalker and ark on my right and spread everything else around from there to the left. For my deployment I setup the council in the middle with the warriors in the aegis, and the snipers infiltrated onto my left.
In Steve’s first turn it was night fighting, which ended up not mattering too much. Almost everything advanced forward and shot off the one squad of guardians that I put on the table and killed a few warriors. The ark shot my council and knocked off one guy.
In my turn, I moved up the council to cover the snipers from the advancing wraiths, and my shooting didn’t do anything.
 Steve responded by moving everything into position to fire on the council and the snipers. His night scythe came on the far left and contributed to the fire. The Lord detached and went after the snipers and the scarabs and wraiths charged into the council. I over-watched the scarabs nearly to death and killed the rest in combat, and the wraiths and I traded damage. His Lord ended up rolling double ones and didn’t make it into combat.
 In my turn two, one squad of guardians came on and everything that was in range/free to shoot, shot at the lord reducing him to one wound. The combat with the wraiths reduced them to a few members.
Steve brought all of his guns to bear on my warriors in turn three, and nearly wiped them out, and then he killed off my guardians with his warriors. Another squad of warriors dropped out of the ghost ark and picked up the relic. The lord charged my snipers and lost his last wound to overwatch. In combat my council removed the last three wounds in the wraith squad and consolidated towards the middle of the table.
 For my turn three, I charged the council forward and shot down the whole warriors squad with the relic and then consolidated on top of it.
The game ended there, because we ran out of time. The game ended in a tie, but the tiebreaker was kill points which gave me the win. Steve again got first blood and I was able to pickup kill the warlord on an overwatch.
All in all it was a fun day. I ended up getting top spot and Vanguard tied the hard fought fight for the smoking boots award. The store was great. It is a bit newer but has great tables, terrain, and community. Many thanks to the owner, Mike, for putting on such a great event.
Thanks all for reading. This is a long post, but it is also the more detailed report that you guys were asking for. I hope that is what you were looking for. Please note that the pictures are all from my punny camera as the Mighty Squig was not able to attend, and should be looked at graciously. On a side note, would you rather the perspective shots from the first matchup or just the turn overview from the second two? Should we continue this longer, more detailed version, or just do the smaller one?
Check out our videos and make sure to like/follow/sub/friend our pages. Thanks again all.
Paul’s Blood Angels, Take Two
Hey all, themightysquig here bringing you just one extra photo of Paul’s Blood Angels. You may remember them from a recent Battle Report and Strategy Follow-up, the Battle Report Teaser, and his Army Showcase. Well, the internets have raged a bit about how some of his models were not fully painted and lacking heads. The internets can be so demanding sometimes. Well, lucky for you, Paul saw the comments and decided to give the people what they wanted: fully painted Blood Angels. Enjoy.
I hope you’re happy, internets. 🙂 Thanks Paul for showing us these wonderfully painted models!
Tournament Review: Top Deck Games 7.12 1850
Hey all, Son of Adam here from MasterCraft Gaming with a review of the 40k tournament out at top deck games in New Jersey.
A bunch of the guys from Stomping Grounds were invited to come and bulk up the event there and Vanguard and I decided to join them. Top Deck was a nice store that supports tabletop, card, and video games. It was a real clean place in a nice town and had some very friendly TO’s. The event was three rounds at 1850 and used all of the new rules from 6thedition. Overall all of us at Stomping Grounds really enjoyed it.
The first mission was “The Relic” with “Dawn of War” deployment and was randomly paired off. I played my Saim-Hann Eldar against a Will’s Draigowing army. Will was a real nice fella and tons of fun to play against (we got done so early that we played a second game for kicks). I got first turn and jumped some guardian jetbikes up to the relic and slowly pulled it into my corner. Then I baited with rangers on one side and the council zooming over to the other. He took the bait and chased both of these. The council took its side and the rangers got curb stomped by Draigo and Boys. In the end I held the relic and had first blood and linebreaker and Will didn’t manage to score any.
The second match was “The Emperor’s Will” with “Hammer and Anvil” deployment, against Rob’s Dark Eldar. Rob had a nice mix of units with the Baron and the Duke. He managed first turn and went to work on the ranger/pathfinders. He gave me first blood by running his jetbikes over one squad and leaving them close to my flame templates. After loosing all of his scoring units, Rob made a real solid comeback and nearly killed all of mine as well. In the end I had 4 ranger/pathfinders and one running jetbike, but one of the pathfinders was on the objective that would have been contested by several venoms had it been 5th. In the end it was a well fought game against a great opponent, but net me another win.
For the final matchup I played John’s Ork/Cron list. He had a real beefy squad of Nob Bikers with some boys squads and two scythes. The last mission was “Big Guns Never Tire” with “Vanguard” deployment. I ended up not getting a single power I wanted and a useless warlord trait. We both danced around for the first two turns. He stayed out of range of the snipers and our deathstars were moving around trying to get position on one another. I ended up tag teaming his nobz when they were stretched out with a squad of boyz and make the nobz run off the table. John then crushed the council under the weight of two boyz squads, and our secondary units fought it out for objectives. In the end I had first blood, linebreaker, kill the warlord, and 2 objectives, while John had linebreaker, kill the warlord and one objective giving me the last win.
All said and done everyone seemed to have a great time, and got some great experience in 6th edition. Dan, a great player I learned the game from, won best painted and the top 3 were all from Stomping Grounds. Vanguard himself had a victorious day pulling out third and I was lucky enough to get the top seat.
Thanks for reading guys. Check out our otherstuff on youtube, and remember to like, friend, subscribe, and follow. Leave a comment below and let me know your toughts.
Army Showcase: Paul’s Salamanders w/ Blood Angels
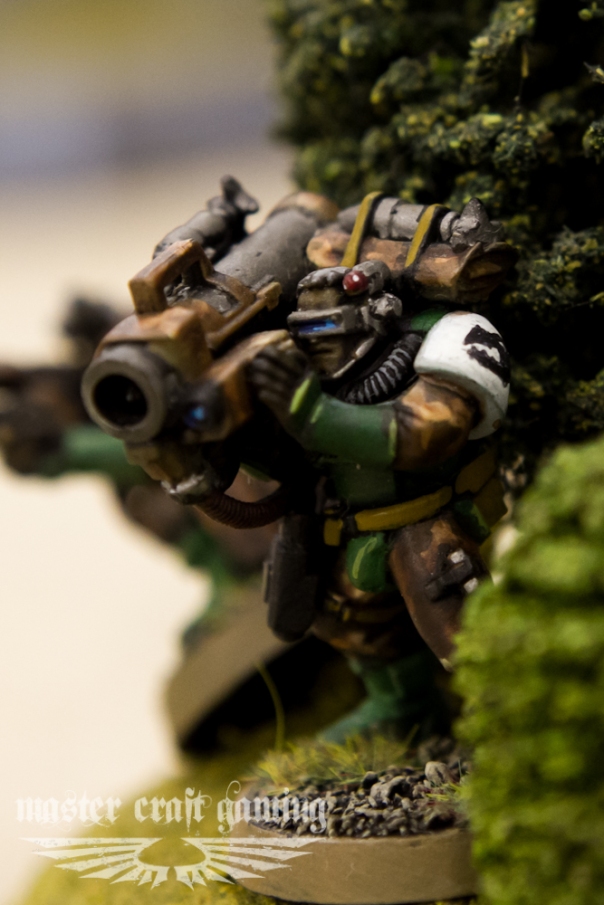
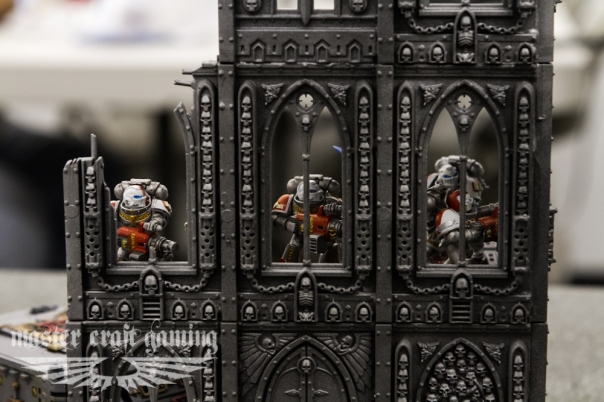
Hey all, themightysquig here bringing you another army showcase. Today we’re looking at some beautiful Space Marine and Blood Angel models. Paul brought this army to take on Son of Adam in our most recent battle report. You can see photos of this army in action in our latest batrep teaser.
Two pieces that I like the most out of this army are the scouts and the assault marines. The camouflage cloaks that the scouts are wearing look amazing in forest terrain, while the assault marines just look really boss. But that’s enough talking for me – take a look at this pics!
Special thanks to Stomping Grounds for letting us take pictures in their store.
Like what you see? Be sure to like, comment, and subscribe! Have any cool models you want to show off? We want to see them! Email me at themightysquig@mastercraftgaming.com to share some photos and stories about your army. We’ll even link back to your blog (if you have one), so don’t hesitate to share!
Army Showcase: Vanguard’s Grey Knights
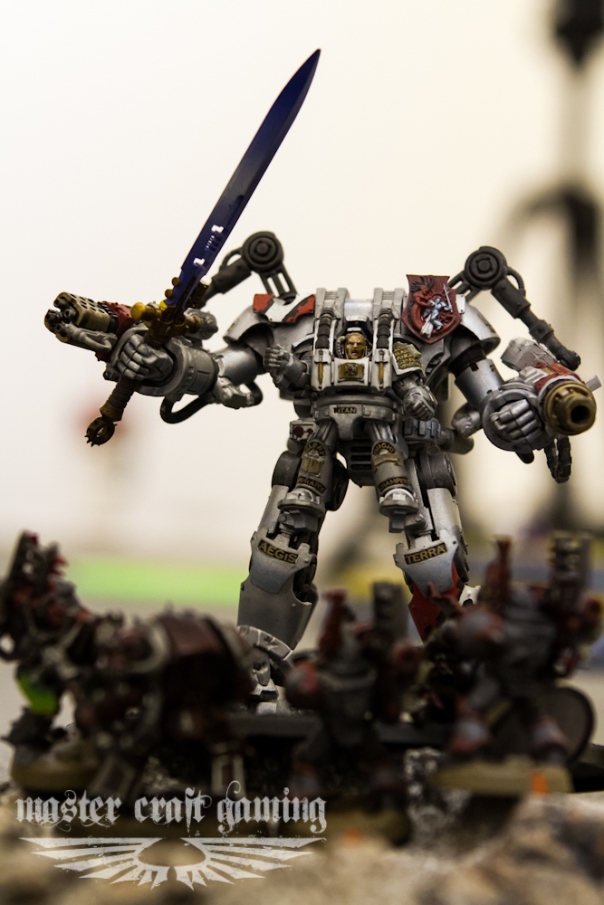
Hey all, themightysquig here bringing you another Army Showcase. This one comes to you from our very own Vanguard, who is our painting specialist here at MasterCraft Gaming. We’ll be getting a painting video with him on the site soon, but until then, check out his Grey Knights. They are beautifully painted and the level of detail is really impressive. But don’t take my word for it, take a look for yourself!
Special thanks to Stomping Grounds for letting us shoot in their store.
What do you think about these models? Please like and comment, we want to hear from you!
Army Showcase: Space Wolves
Hey all, themightysquig here showing off some more really well painted models. This army showcase is of our buddy Steve’s custom Space Wolves army. He custom made these guys to be chaos space wolves and I think they turned out great. I grabbed a few shots of this army in action, but I wanted to get a few posed shots so we could get a better look at them. Enjoy!
Special thanks to our friends at Stomping Grounds for letting us photograph in their store!
Have a model you want to share? Email me at themightysquig@mastercraftgaming.com with a pic of your favorite model. Tell us how you made it and we’ll show it off on our site! We are glad to link your blog as well, so don’t be afraid to show off!


