Blog Archives

List Building: Checklist

Be intentional about the Heavy Support and Fast Attack choices that you pick.

Hey guys, Son of Adam here again with a little list building checklist.  This is not the end all be all of list building, but is simply a quick check to run through your list in order to see if you are missing something.

            If you are building an all-comers list for any mission in the new BRB, then there are some things that you ought to make sure that you consider.  Here is a very basic two part checklist to run through your list.  The first is directly written with the Golden Rules in mind, and the second are with the potential meta in mind.

Mission Specific:

  • How will this list handle scoring/contesting 6 different objectives?
  • Is there any way to reduce my kill point total?  Does this list have too many?
  • Are all of the heavy support choices in this list diverse enough to take advantage of Big Guns Never Tire without creating too much of a victory points liability should they be destroyed and award the opponent victory points?
  • Are all of the Fast Attack choices in this list diverse enough to take advantage of The Scouring without creating too much of a victory points liability should they be destroyed and award the opponent victory points?
  • Can this list get a near guarantee that I claim one particular objective of my choosing?
  • Can this list guarantee that I can deny one particular objective of my opponent?
  • Does this list provide a solution for seizing and holding the relic?
  • Does this list provide a solution for forcing an opponent to drop the relic?
  • Does this list have a hard to kill Warlord?
  • Does this list provide a means to kill the opponents Warlord?
  • Does this list have an easy to kill unit?
  • Does this list provide a means for getting the first kill?
  • What in this list is poised to be in the enemy’s deployment zone at the end of the game?

General Defense:

  • Does this list provide a solution for AV14 vehicles?
  • Does this list provide a solution for Deathstars?
  • Does this list provide a solution for fliers?
  • Does this list provide a solution for hordes?
  • Does this list provide a solution for MSU?
  • Does this list provide a solution for 2+ saves?
  • Does this list provide a solution for Monstrous Creatures
  • Does this list provide a solution for Psykers?

Expect to see more fliers in the 6th Edition.  How will your list defend against them?

            Notice that these are not overly specific.  That is intentional.  There are many tricky ways to deal with the different threats and achieve different objectives.  For example you can deal with a deathstar without killing it (see here for that article).  Or win “The Emperor’s Will” without trying to claim the opponents objective (article here), or any at all (article here).  Keep an eye out for providing an answer to each of these items in non-traditional ways.

            This is a very general checklist, but not a bad one to give your list a quick run-through.  Most of us try to run through this checklist in our heads anyway, but it is good to have a tangible list in front of us, and will benefit those that have not considered it before. 

            Run your list through this checklist and tell us about how it fared.  Feel free to post an overview of your list and its strengths and weaknesses in regards to the checklist in the comments below.  If you want to send me a copy of your list and your review personally send it to SonofAdam@MasterCraftGaming.com.

Battle Report Teaser: Space Marines (Salamanders) w/ Blood Angel Allies vs Eldar (Saim Hann)

Hey all, here’s another Battle Report Teaser. Thanks to everyone who enjoyed the photos from the last batrep, and an extra thanks to all those who watched and commented on our first battle report video! We had a lot of fun putting that one together and we are really excited for the one we are working on now. We think its going to be even better than the first, so make sure you take a look!

This battle was between Paul‘s Salamanders and Blood Angel allies and Son of Adam’s Eldar. I wont spoil the ending for you- you’re just going to have to wait for the video! In the meantime, enjoy these photos! (Don’t forget to come back tomorrow and check out Paul’s Army Showcase too!)

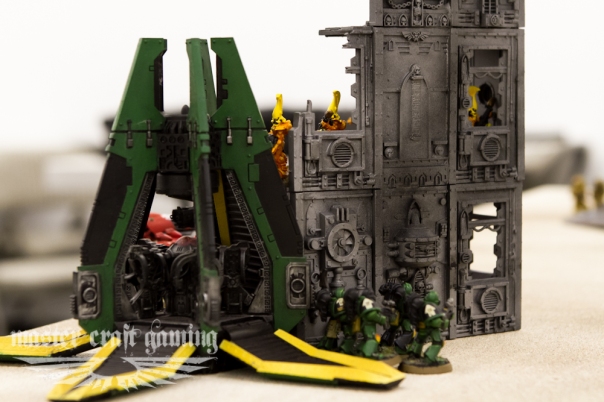
Devistators Take position above their objective.

Scouts find cover in a forest.

Vanguard drop in on some of the infiltrating Pathfinders.

Fire dragons retaliate against the vanguard that destroyed their transport.

Paul’s camo paint scheme looked great on his scouts.

The pathfinder’s strong cover save was negated by template weapons and they were easily removed.

Fighting for position, the fire dragons and vets try to gain the advantage.

The farseer’s psycic powers help balance the scales in combat.

A small squad of snipers moves into position to claim an objective.

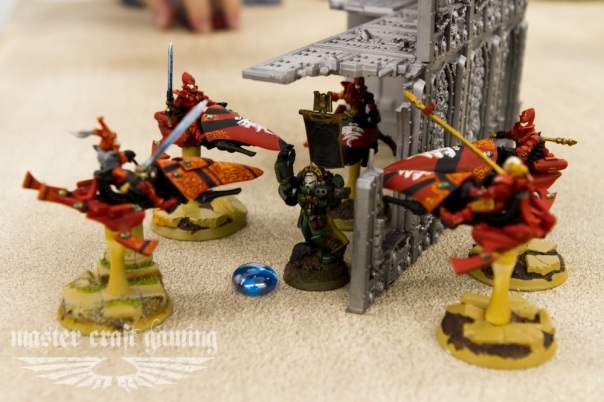
The Salamander commander makes a valiant stand against the seer council.

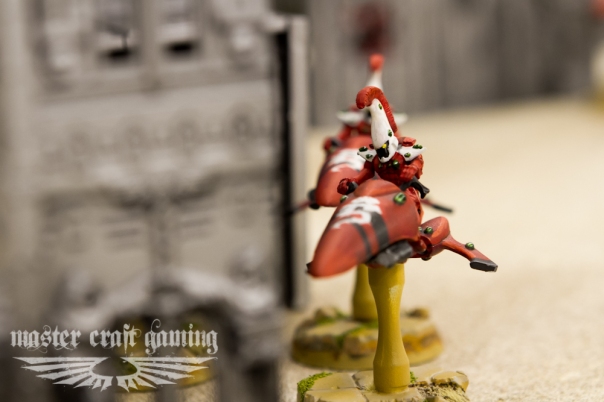
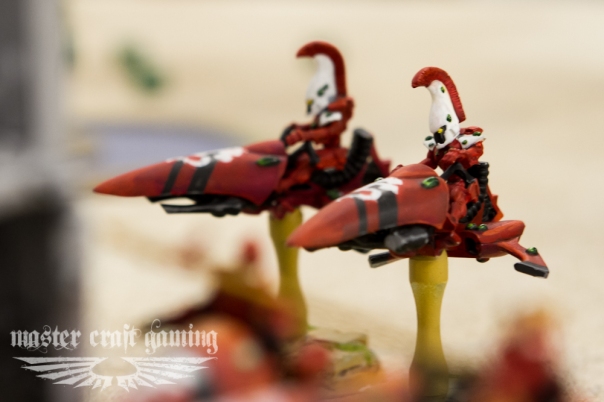
Guardian jetbikes use their speed to maneuver around terrain.

The Saim Hann charge forward.

A sole guardian jetbike risks the dangerous terrain to jump above the objective.

Another special thanks to Stomping Grounds for letting us shoot in their store.

Like what you see? Like and comment this post. We want to hear from you!

Macro-Game Play: Approaching Mission 5

Sometimes you don’t need focus a lot of resources to hold an objective.

Hey all, Son of Adam here with a run-through of how to approach mission number five in the BRB, “The Emperor’s Will.”  Eventually there will be an “Approaching” article for each of the missions, but we are going to start with five.  Why five and not one? Because this one is the most interesting and the one I have seen messed up the most.

             First off, let’s look at what makes up mission five.  All of the rules for mission five are the standard for all missions; warlord traits, night fighting, reserves, secondary objectives, etc.  What distinguishes it is the amount and placement of the objectives.  There are only two objectives; one for each player.  These objectives are subject to the normal rules, but contrary to 5th, these objectives are place in the owning player’s table half.  (Note that they no longer have to be in the owning player’s deployment zone).

            So, how do we follow the golden rules in order to win the game?  The victory conditions are achieved by having more victory points than your opponent.  Let’s break this down in a real blunt and simple way.  We can guarantee this points preponderance by claiming both primary objectives, claiming one primary and secondary objective while the opponent doesn’t claim a primary, or by claiming more secondary objectives while neither player claims a primary.  These are all very obvious, but now that they have been overtly stated we can look at how to achieve each of them. 

            The first, and most difficult to achieve, is claiming both primary objectives.  This mission in 5th edition (capture and control) was not dubbed “mission tie game” for nothing.  It usually goes one of three ways.  First, both players do a full out attack and leave one scoring unit behind.  Second, both players castle and wait, and third, some combination thereof.  And then when the dust settles, if the game isn’t already over, each player tries to dash towards whatever objective isn’t claimed.  Generally this is just a very hard way to win mission five.  Usually it is only possible with a much stronger list, poor play from your opponent, or really lucky dice.

            The next way is to claim a primary objective and deny your opponent from claiming one, while remembering to score one of the secondary objectives.  This method is much easier to win with and is often the overlooked play.  You pick which primary objective is more of a guarantee to claim and work to claim that one by the end of the game.  Then you stay alive.  You can try to find ways to remove your opponent from the other primary objective by baiting him or confusing him with deployment, but essentially you want to be alive and in a position to contest their primary objective for the end of the game.  If you can manage not to get yourself killed, you can claim your own objective while defending it and contesting the opponent at the same time.  It takes a bit of finesse and there are many different ways to do it, but the focus is on claiming on primary while contesting the other.

            And lastly, you can tie for the win.  If you think that it will too hard to claim both or contest one primary objective and will end up being “mission tie game,” you can play for the tie and play for the secondary objectives.  I won’t go into this too much, there is already an article up about it, but suffice to say, make sure your list can handle the secondary objectives and play for them without revealing that you are.

            In the end I usually play for method two, while banking on method three.  This way I play very conservatively while acquiring the secondary objectives and make the push for the last turn contest.


            Let me know your thoughts.  Basic article, but you know I like to look at the overlooked basics for the win.  Do you have any stories about “mission tie game?”  Post up your comments/criticism and make sure to like/follow/sub to our stuff.  Thanks for reading.